Welcome to the Bigman Geophysical Quick Start Series. This post is part of our ongoing collection of free, field-ready guides designed to get your team up and running without the fluff. We believe in "frictionless training"—proving that when you pair intuitive hardware setups with live-visual software, you drastically reduce ramp-up time and minimize human error. These guides are built to get your crew scanning with confidence from day one, and Bigman Geophysical offers affordable online courses and in-person workshops to expand on the free knowledge base to take your team's field competency to the next level.
Advanced Concrete Imaging: A Quick Start Guide to the Leica C-Thrue
Before cutting, coring, or drilling into structural concrete, you have to know exactly what is locked inside the slab. Missing a critical piece of rebar, a post-tension cable, or a plastic conduit isn't just an expensive mistake—it's a massive safety hazard.
To take the guesswork out of concrete inspection, the IDS C-thrue Ground Penetrating Radar (GPR) offers a highly specialized, standalone solution. Featuring a unique dual-polarization antenna system, this compact all-in-one device is designed to map out embedded targets with surgical precision.
If you want to get your team field-ready with this advanced concrete scanner, here is your essential quick start guide.
Step 1: Physical Setup and Ergonomics
The IDS C-thrue is built as an all-in-one unit, meaning the radar antenna, high-precision wheel encoders, and graphical display screen are all housed in one rugged, compact chassis.
Check the Wheels and Encoders: Before placing the unit on the concrete, make sure the survey wheels spin freely and are clear of debris. The built-in encoders automatically track your linear distance to map targets accurately.
Configure the Handle: Use the integrated hand-grip for close-up wall or floor scanning, or attach the telescopic extension handle to comfortably scan floors from a standing position.
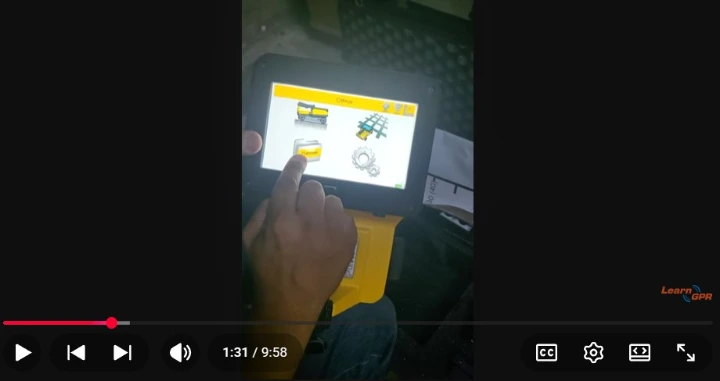
Power On: Turn on the master switch to boot up the integrated, high-visibility touchscreen display.
Step 2: System Setup and Calibration
Once the software loads, navigating the setup menus allows you to calibrate the device for the specific concrete conditions on your job site.
Select Your Operating Mode: Choose between a quick "Line Scan" (for rapid target locating) or a structured "Grid Scan" (for comprehensive 3D mapping of multi-layered rebar mats).
Calibrate Concrete Parameters: Input your estimated concrete velocity or dielectric value. If the concrete is completely cured and dry, standard settings apply; adjusting this parameters ensures that the depth estimates shown on your screen match reality.
Step 3: Real-Time Data Acquisition (Dual-Polarization Advantage)
With your settings configured, you are ready to start rolling. This is where the IDS C-thrue delivers a major technological advantage: dual-polarization (vertical and horizontal) antennas.
Traditional GPR units only detect targets oriented perpendicular to the antenna direction. The C-thrue, however, scans in two orientations simultaneously, capturing both shallow and deep structural components regardless of how they cross inside the concrete.
Maintain Firm Contact: Roll the unit smoothly across the concrete surface. The data will stream across the touchscreen display in real time.
Spot the Targets: Look for clear radar hyperbolas indicating rebars, metallic conduits, and structural voids.
Pro-Tip for Advanced Visualization: The C-thrue features real-time data migration and filtering on-screen. Use the built-in focus tools to collapse raw radar hyperbolas into simple, easy-to-read "points," giving you an immediate visual representation of your target's exact center.
Step 4: Data Processing, Filtering, and Exporting
The ultimate goal of concrete scanning is providing clear, actionable data so the construction crew knows exactly where it is safe to drill.
Apply Real-Time Filters: Use the touchscreen interface to adjust the contrast, apply background removal filters to eliminate surface noise, and brighten deep reflections.
Mark Structural Components: Use the digital tagging system to mark out rebar grids and separate them from potential conduits or structural defects.
Export Your Results: Save your data directly to the local storage or an external SD card. You can immediately share basic field reports or export the raw files into advanced analysis software back at the office.
See the IDS C-thrue in Action
Want to see this standalone concrete radar handle a live scan? Watch the comprehensive video tutorial below by LearnGPR to master the menu navigation, see the dual-polarization system in action, and learn how to interpret real-time concrete scanning data.
Watch the IDS C-thrue Quick Start Video Tutorial Here
This video provides an excellent visual demonstration of the setup process, real-time filtering, and data acquisition workflows discussed in the guide above.