Welcome to the Bigman Geophysical Quick Start Series. This post is part of our ongoing collection of free, field-ready guides designed to get your team up and running without the fluff. We believe in "frictionless training"—proving that when you pair intuitive hardware setups with live-visual software, you drastically reduce ramp-up time and minimize human error. These guides are built to get your crew scanning with confidence from day one, and Bigman Geophysical offers affordable online courses and in-person workshops to expand on the free knowledge base to take your team's field competency to the next level.
Tracing the Grid: A Quick Start Guide to the Rycom Snaptrack Utility Locator
Ground Penetrating Radar is an incredible tool for subsurface imaging, but when it comes to tracking specific metallic pipes, electrical cables, or tracer wires over long distances, electromagnetic (EM) utility locators are the undisputed bread and butter of the industry.
The Rycom Snaptrack is a staple for field crews who need a lightweight, highly accurate, and rugged line locator. By sending a targeted electrical signal down a utility line, the Snaptrack allows you to map out underground infrastructure across massive distances with ease.
If you want to get your team up and running with line-tracing fundamentals, here is your essential field guide to the Rycom Snaptrack.
Step 1: Component Checklist and Power Up
An EM locating system relies on two separate components working in perfect harmony: the Transmitter (which puts the signal onto the pipe or cable) and the Receiver (the wand you carry to trace the signal).
Check Batteries: Ensure both the transmitter base and the receiver wand have fresh batteries before heading out. Low battery levels can cause signal degradation and inaccurate depth readings.
Power On: Turn on both units. The Snaptrack interface is straightforward, giving you clear readouts of your current frequency, signal strength, and battery status right at boot-up.
Step 2: Choosing Your Connection Method
How you apply the signal to your target utility depends entirely on access. The Rycom Snaptrack offers three core methods:
Direct Connection (Best Method): Use the included cable leads. Clip the red lead directly to a valve, tracer wire, or exposed metallic pipe. Clip the black lead to an independent ground stake pushed into the earth at a 90-degree angle away from the utility line.
Inductive Clamp (Coupling): If you can't clip directly to the metal (like an insulated power cable), wrap the Snaptrack’s inductive clamp around the cable. This induces a clean signal safely through the outer insulation.
Broadcast Induction: If there is no access to the utility at all, place the transmitter box on the ground directly over where you suspect the utility runs. The internal antenna will broadcast the signal down into the earth and onto the line.
Step 3: Selecting Frequencies and Sweeping the Line
The rule of thumb with EM locating is to use the lowest frequency possible that still allows you to track the line. Lower frequencies stay on your target utility longer and don't easily "bleed off" onto neighboring metal pipes.
Match Frequencies: Ensure the receiver and transmitter are set to the exact same frequency (e.g., 815 Hz, 8 kHz, or 33 kHz). Use higher frequencies for high-resistance lines or poor grounding situations.
Establish Your Sweep: Walk a path perpendicular to the suspected utility line while swinging the receiver wand side-to-side in a smooth, level arc.
Peak vs. Null Mode: Use Peak Mode (where the signal bar and audio tone are loudest directly over the pipe) for pinpoint accuracy, or switch to Null Mode (where the signal drops to zero directly over the pipe) for rapid tracing over long stretches.
Pro-Tip for Current Measurement: Watch the Current Measurement (mA) readout on your receiver display. If you notice a sudden, massive drop in current, your signal has likely bled off onto a cross-cutting utility or adjacent metal fence line.
Step 4: Verifying Depth and Marking the Target
Once you have traced your line, you need to verify its position and estimate its depth before marking the ground.
Pinpoint the Center: Keep the receiver wand vertical and perfectly straight over the peak signal point.
Read the Depth: Press the depth button on the handle. The Snaptrack will automatically calculate and display the estimated depth of the utility line.
Mark with APWA Colors: Use the standardized American Public Works Association (APWA) color-coded paint or flags to mark out your line (e.g., Red for electric, Yellow for gas, Blue for water) so excavation crews know exactly what lies below.
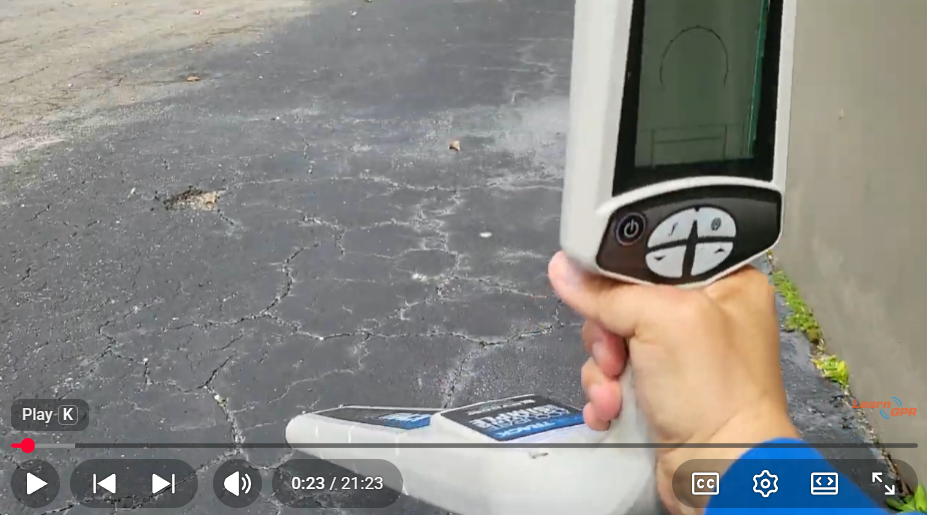
See the Rycom Snaptrack in Action
Want to see how to hook up the leads, ground the system, and perform a real-world sweep? Watch the full video tutorial below by LearnGPR to master the physical connection steps and see exactly how the receiver wand responds over buried lines.
Watch the Rycom Snaptrack Quick Start Video Tutorial Here
This tutorial provides a clear visual demonstration of how to properly ground the transmitter and read the receiver signals during a live line-tracing operation.