Welcome to the Bigman Geophysical Quick Start Series. This post is part of our ongoing collection of free, field-ready guides designed to get your team up and running without the fluff. We believe in "frictionless training"—proving that when you pair intuitive hardware setups with live-visual software, you drastically reduce ramp-up time and minimize human error. These guides are built to get your crew scanning with confidence from day one, and Bigman Geophysical offers affordable online courses and in-person workshops to expand on the free knowledge base to take your team's field competency to the next level.
Mapping the Underworld: A Quick Start Guide to the Proceq GS8000 Subsurface GPR
When your project demands a complete map of what lies beneath the earth—from shallow fiber-optic cables to deep geological layers or buried foundations—swapping back and forth between different radar antennas is a massive drain on time. Subsurface engineering and utility mapping require a tool that can see it all in a single pass.
The Screening Eagle Proceq GS8000 is a cart-based Stepped Frequency Continuous Wave (SFCW) GPR system built exactly for this challenge. Offering high-precision GNSS positioning and an incredible depth penetration range, it allows operators to scan, visualize, and digitize entire underground networks in real time.
If you are ready to deploy this powerhouse tool in the field, here is your essential quick start guide to the Proceq GS8000.
Step 1: Physical Assembly and Positioning Setup
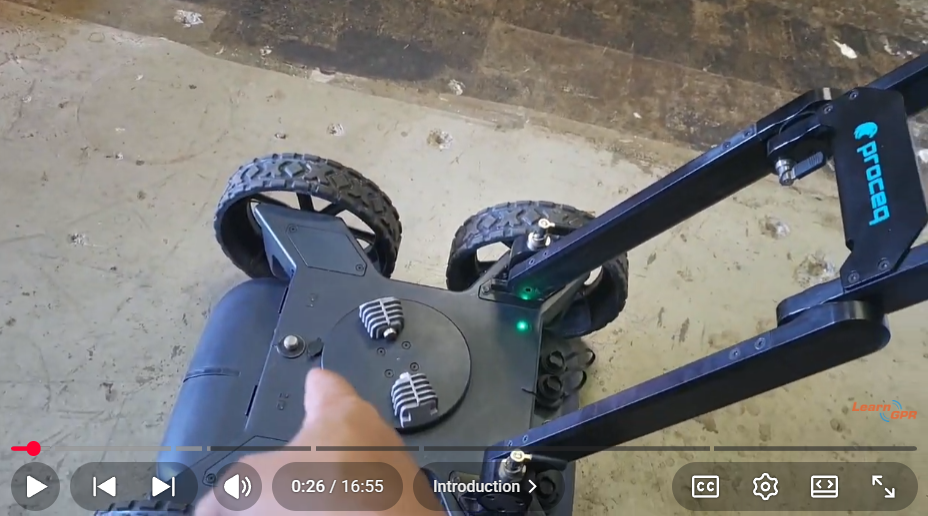
The GS8000 is an all-terrain pushcart system designed to protect its sensitive instruments while remaining agile enough for urban or off-road environments.
Deploy the Cart: Unfold the rugged chassis and ensure the dual-axis floating antenna array is sitting comfortably. Check that the wheel encoders are clear of mud and debris so distance tracking remains accurate.
Mount Your Interface: Secure your iPad Pro into the tablet holder. If you are working in bright conditions, always attach the integrated sunshade cover to prevent glare and keep the tablet from overheating.
Fix the GNSS Receiver: Mount the high-precision MA8000 GNSS antenna to its carbon fiber pole on the cart. This multiband receiver integrates seamlessly with global satellite networks to provide real-time 3D positioning down to 1–5 centimeters.
Step 2: Wireless App Pairing and Project Configuration
The GS8000 ditches messy internal cables in favor of an entirely wireless digital workflow.
Boot Up and Connect: Power on the GPR sensor array and the GNSS receiver. Open the Proceq GPR Subsurface App on your iPad and establish a secure Wi-Fi connection to pair the hardware.
Set the Coordinate System: Select your local map coordinate system directly from the app’s global EPSG database. This guarantees that every target you mark is accurately geo-referenced for future CAD/GIS work.
Calibrate Soil Parameters: Input your estimated soil dielectric constant based on local conditions (e.g., dry soil vs. wet clay). You can easily fine-tune this on-site later by matching a hyperbola template to a real-world target depth.
Step 3: Real-Time Subsurface Scanning (The SFCW Powerhouse)
With traditional GPR, you have to choose between resolution and depth. The GS8000 bypasses this tradeoff using SFCW technology, modulating across a massive frequency range from 40 MHz to 3440 MHz. This means it can simultaneously map tiny shallow utilities and penetrate depths up to 10 meters (33 feet).
Select Your View Mode: Choose how you want to see the data. You can view standard 2D line scans, migrated data profiles (which clean up radar noise), a top-down Map View, or a live 3D Time Slice.
Walk the Line: Push the cart smoothly over your survey path. The software will instantly construct a high-resolution map of the subsurface as you walk.
Identify Anomalies: Look for hyperbola reflections in the profile view to pinpoint buried utilities, ancient archaeological structures, or soil stratification lines.
Pro-Tip for Advanced Mapping: Take advantage of the app’s "Free Path" scanning mode. Because the high-precision GNSS receiver tracks your exact path, you don't need to lay out rigid physical grids on the ground. You can walk freely, and the software will accurately orient and stitch the data together automatically.
Step 4: On-Site Digitization and Cloud Export
The final phase of a modern geophysical survey is converting radar lines into clean deliverables. The GS8000 allows you to do most of this processing before you ever leave the field.
Digitize Findings Live: Use the touch screen to drop geolocated markers on points of interest or draw utility linework directly onto your Time Slice and Map views.
Add Field Annotations: Attach photos, voice notes, or text tags directly to specific data points to add context for your engineering team.
Instant Report Generation: Save the dataset to the secure cloud workspace. With a single click, you can generate a professional HTML/PDF field report or export raw files in standard formats like DXF, SHP, or KML to share with your clients immediately.
See the Proceq GS8000 in Action
Want to watch a live demonstration of this advanced subsurface cart system being deployed, calibrated, and operated? Watch the full video tutorial below by LearnGPR to master the real-time processing screen and see the SFCW technology in action.