Welcome to the Bigman Geophysical Quick Start Series. This post is part of our ongoing collection of free, field-ready guides designed to get your team up and running without the fluff. We believe in "frictionless training"—proving that when you pair intuitive hardware setups with live-visual software, you drastically reduce ramp-up time and minimize human error. These guides are built to get your crew scanning with confidence from day one, and Bigman Geophysical offers affordable online courses and in-person workshops to expand on the free knowledge base to take your team's field competency to the next level.
Demystifying Subsurface Mapping: A Quick Start Guide to the Leica DS2000 GPR
Whether you are trying to avoid a costly strike on an underground utility or mapping out structural data before a major dig, speed and accuracy are everything. But in the world of geophysics, high-tech equipment can sometimes feel intimidating to deploy in the field.
The Leica DS2000 Ground Penetrating Radar (GPR) changes that. Known for its rugged reliability and dual-frequency capabilities, it’s designed to get crews trained and surveying in record time.
If you are looking to get your team up to speed, here is your essential, step-by-step field guide to dominating your next subsurface survey.
Step 1: Physical Setup and Deployment
Before you turn on the screen, you need to get the hardware right. Fortunately, the DS2000 is built for quick, tool-less assembly.
Check the Cart: Ensure the wheels are properly aligned and the handle is adjusted to a comfortable pushing height.
Secure the Controller: Mount your data logger securely to the handle assembly. Make sure all cable connections between the radar antenna and the controller are snug and weather-sealed.
Clear the Path: Do a quick scan of your survey line. While the DS2000 handles rough terrain well, clearing large rocks or debris will ensure a smoother scan and cleaner data.
Step 2: Boot Up and Software Calibration
Once the hardware is assembled, it’s time to bring the system to life.
Power On: Turn on both the GPR antenna and the controller interface.
Select Your Project: Create a new project file or select an ongoing job site from the main menu.
Calibrate Soil Settings: GPR relies on radar waves traveling through the ground, and different soils (clay vs. sand) change how those waves behave. Use the onboarding software to select the appropriate soil type or run a quick calibration test to ensure your depth readings are highly accurate.
Step 3: Real-Time Data Acquisition (Walking the Line)
With calibration complete, it’s time to start pushing the cart. This is where the Leica DS2000’s dual-frequency antenna shines. In a single pass, it simultaneously collects data using two frequencies:
700 MHz: Captures high-resolution details of shallow targets (like shallow conduits or rebar).
250 MHz: Penetrates deeper into the earth to locate deep-set utilities and larger structures.
Pro-Tip for Reading Data: As you push the cart, look for hyperbolas (upside-down "U" shapes) on your screen. The apex (the very top) of that curve indicates the exact location and depth of the underground utility.
Step 4: Interpretation and Exporting Reports
Collecting the data is only half the battle; the final step is turning those radar screens into actionable insights for your team or client.
Marking Targets: Use the touch-screen interface to place digital markers directly onto the radar profile where you detect utilities.
Geotagging: Utilize the integrated GPS capabilities to sync your findings with real-world coordinates.
Exporting: Once the grid or line scan is complete, export clean, professional field reports directly from the system to send to your project managers or clients.
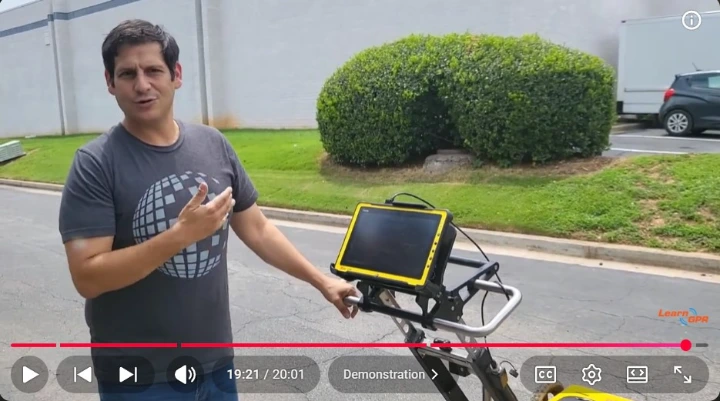
See the Leica DS2000 in Action
Want a visual walkthrough of this exact process? Watch the full video guide below by LearnGPR to see a live demonstration of the setup, software calibration, and real-time scanning techniques.